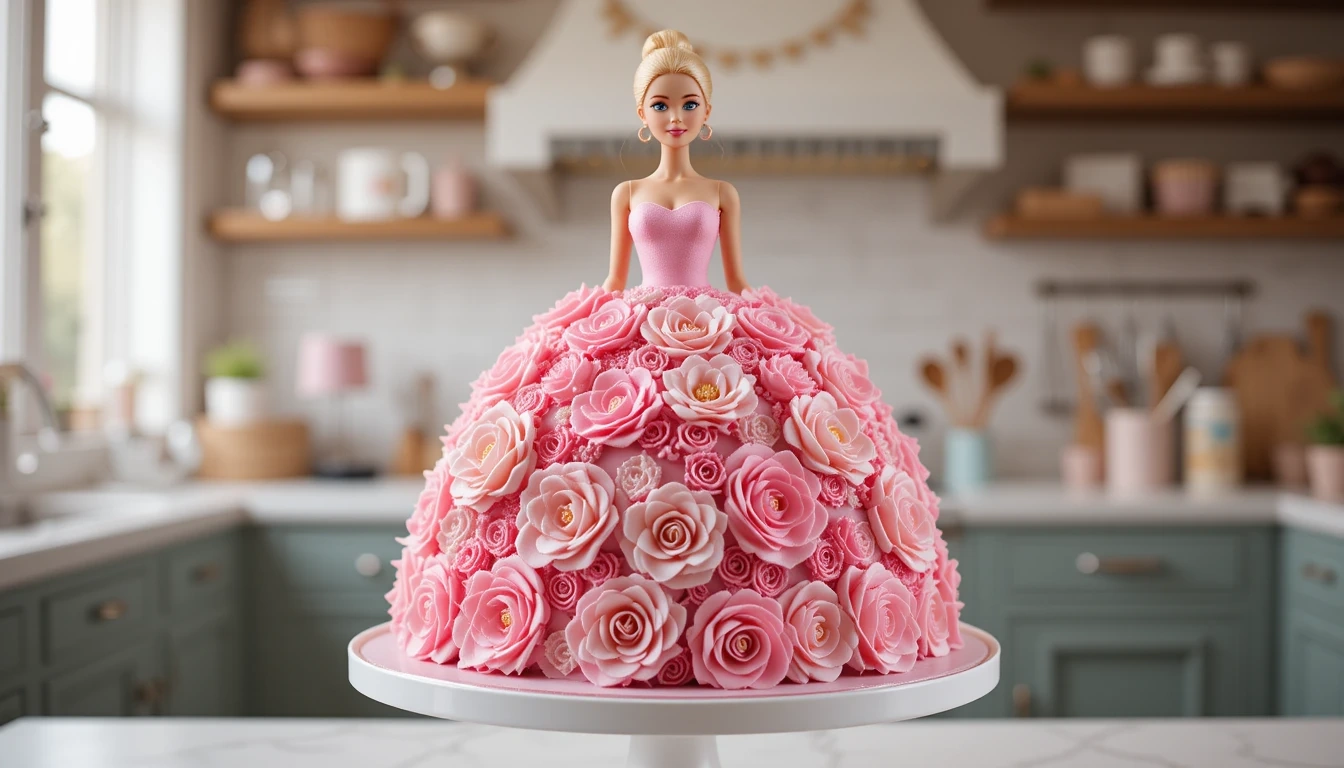
When I first decided to make a Barbie cake for my niece’s birthday, I quickly realized that the right ingredients and tools were crucial to achieving the whimsical look I envisioned. I started by gathering the essentials: all-purpose flour, sugar, eggs, butter, baking powder, and vanilla extract. I also made sure to have food coloring on hand to create vibrant icing.
The most important tool, of course, was the Barbie doll itself. I opted for a classic Barbie with a long dress, which would serve as the centerpiece of my cake. In addition to the ingredients, I found that having the right baking tools made a world of difference.
A sturdy mixing bowl, measuring cups, and a whisk were non-negotiables. I also invested in a set of cake pans—one for the base and another for the layers that would form the skirt. A spatula for spreading icing and a cake board for presentation were also essential.
As I gathered everything, I felt a mix of excitement and nervousness; I wanted this cake to be perfect, not just for my niece but also for my own baking reputation!
Table of Contents
Baking the Perfect Barbie Cake Base
Preparing the Ingredients and Oven
With my ingredients and tools ready, it was time to dive into the baking process. I preheated my oven to 350°F (175°C) and began mixing the dry ingredients in use one bowl while mixing the butter and sugar in a different one. The aroma of vanilla filled my kitchen as I combined everything into a smooth batter.
The Waiting Game
I poured the mixture into my round cake pans and placed them in the oven, eagerly watching through the glass door as they rose beautifully. While waiting for the cakes to bake, I reminisced about my childhood baking experiences with my grandmother. She always said that patience is key in baking, and I found myself channeling her wisdom as I resisted the urge to open the oven door too soon.
The Fruits of My Labor
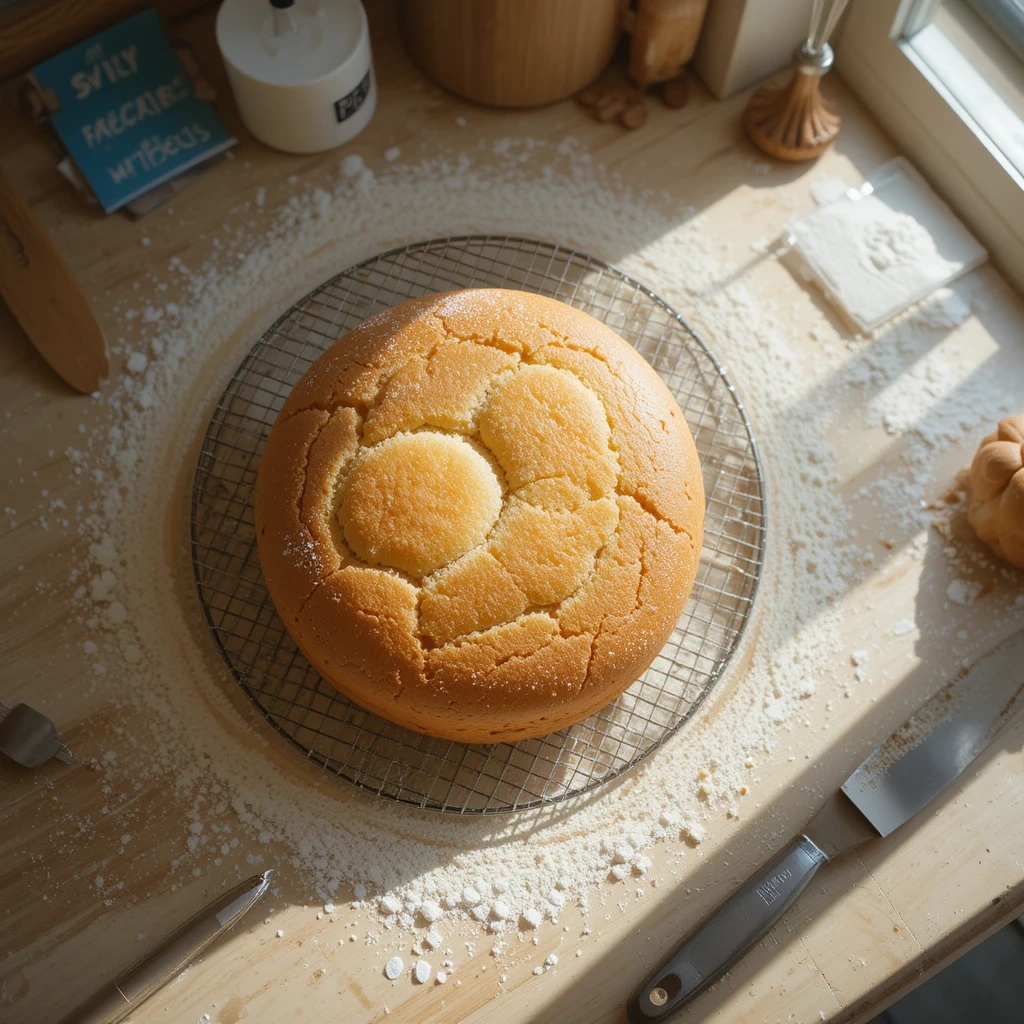
After about 30 minutes, I pulled out the cakes, letting them cool on a wire rack. The golden-brown tops were a sight to behold, and I couldn’t help but feel a sense of accomplishment. This was just the beginning of what would become a delightful masterpiece.
Preparing the Barbie Doll for the Cake
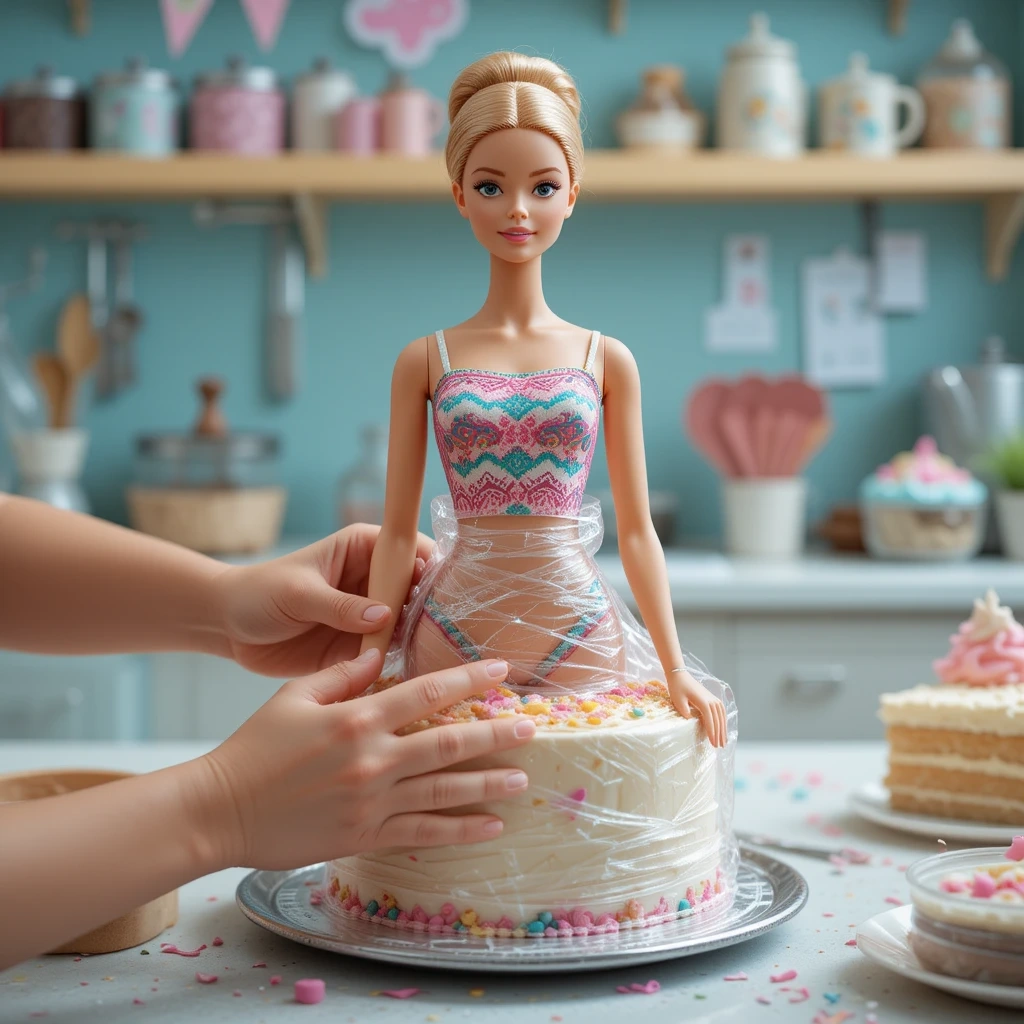
Once the cakes had cooled completely, it was time to prepare the Barbie doll for her grand debut. I carefully unwrapped her from her packaging, taking care not to damage her hair or dress. As I held her in my hands, I remembered how much my niece adored Barbie dolls; this cake was going to be a showstopper!
To ensure that she would fit snugly into the cake, I decided to trim the bottom of her dress slightly. This step felt a bit sacrilegious at first, but I knew it was necessary for the overall effect. Next came the fun part: dressing Barbie for her cake debut!
I chose a dress that matched the color scheme of my cake—pink and purple hues that would delight any little girl. After dressing her up, I placed her aside while I focused on assembling the cake layers. It was important to keep her clean and intact until she was ready to take her place in the center of this sugary creation.
Creating the Perfect Icing and Decorations
| Technique | Success Rate | Difficulty Level |
|---|---|---|
| Buttercream Icing | 90% | Easy |
| Royal Icing | 85% | Medium |
| Fondant Decorations | 75% | Hard |
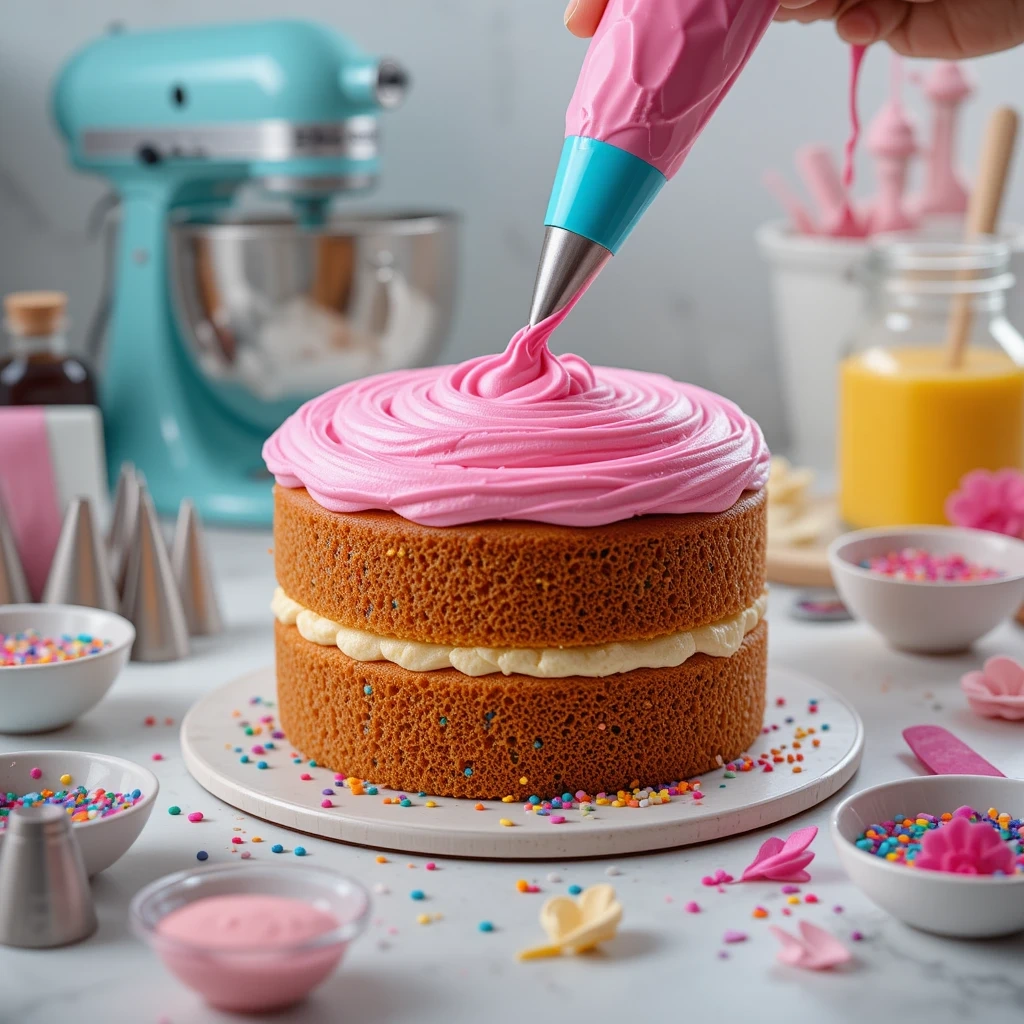
With Barbie prepped and ready, it was time to whip up some icing that would they are not only flavorful but also visually striking. I opted for a classic buttercream frosting, mixing together butter, powdered sugar, milk, and vanilla extract until it reached a smooth consistency. To achieve that vibrant pink color that would complement Barbie’s dress, I added a few drops of food coloring.
As I mixed it in, I couldn’t help but feel like an artist preparing their palette. Decorating the cake was where my creativity truly shone. I used a spatula to spread a generous layer of icing between each cakelayer prior to stacking them vertically.
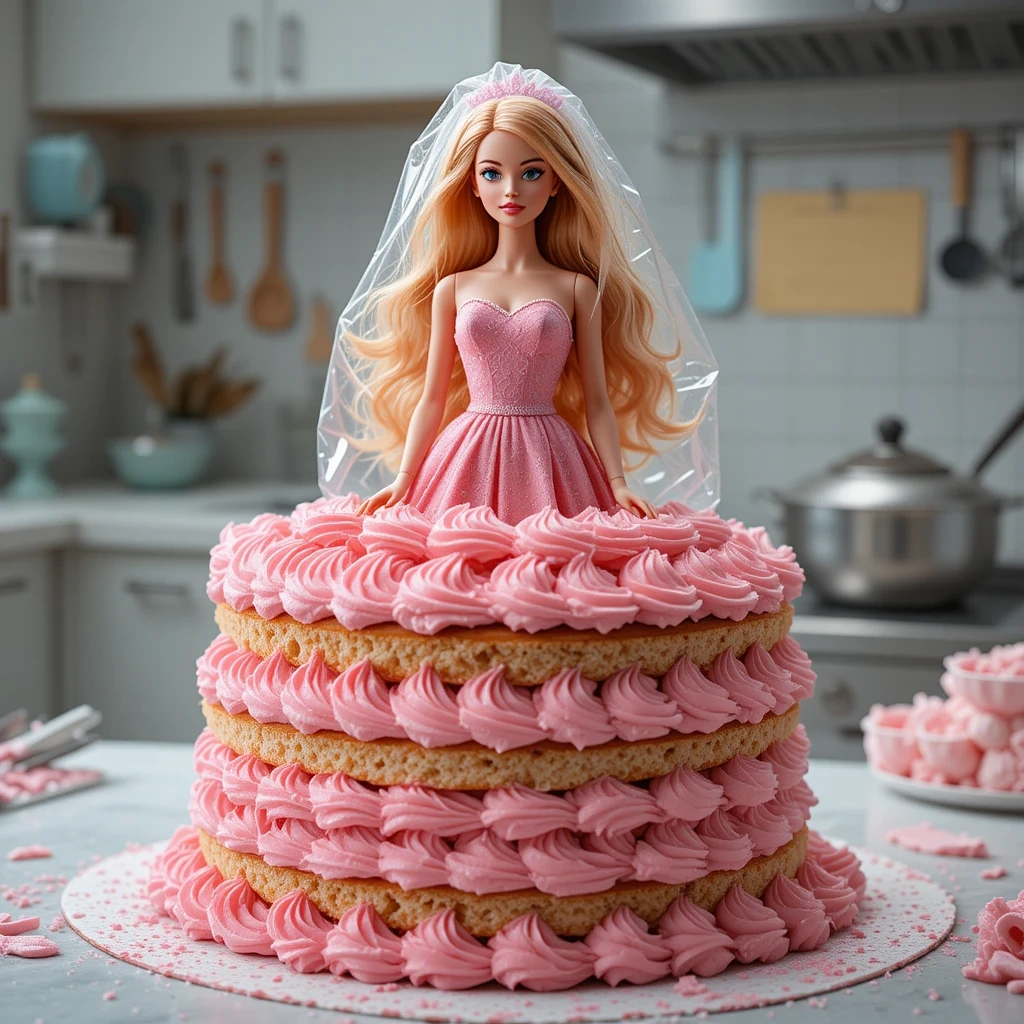
Once assembled, I covered the entire cake with a thick layer of pink buttercream. To add some flair, I piped decorative swirls around the base and sprinkled edible glitter on top for that extra sparkle. As I stepped back to admire my work, I felt like a proud parent; this cake was turning out even better than I had imagined!
Assembling the Barbie Cake Layers
Assembling the layers of the Barbie cake was both thrilling and nerve-wracking. With each layer stacked on top of one another, I could see my vision coming to life. The first layer served as the base, sturdy enough to support Barbie’s weight when she was placed inside.
After spreading icing between each layer, I carefully positioned them so they aligned perfectly. It was like building a tower of dreams—one wrong move could send it tumbling down! Once all layers were stacked and secured with dowels for stability, it was time to insert Barbie into her cake throne.
Carefully, I made a hole in the center of the top layer and gently pushed Barbie down until she was nestled snugly within her sugary skirt. The moment felt magical; she looked like she was ready for a royal ball! As I finished assembling everything, I couldn’t help but imagine my niece’s face when she saw this creation—it was going to be priceless.
Adding the Finishing Touches
Adding Elegance with Fondant Flowers
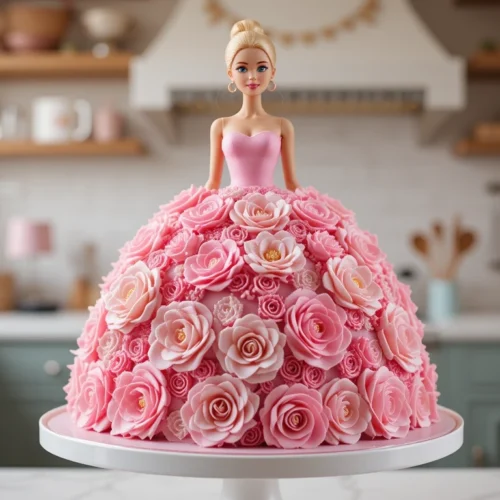
I decided to create some fondant flowers to adorn the skirt, which would add a touch of elegance and color contrast against the pink icing. Rolling out colorful fondant and cutting it into petal shapes took some time, but it was worth every minute when I placed them delicately around Barbie’s waist.
Adding the Final Details
To complete the look, I added some edible pearls along the edges of her dress and sprinkled more edible glitter over the entire cake for that magical sparkle effect.
The Final Result
As I stood back to admire my creation, it felt surreal—this wasn’t just a cake; it was a work of art! The anticipation built within me as I imagined how my niece would react when she saw this stunning centerpiece at her birthday party.
If you’re looking to create the cutest dessert ever, you have to check out this Hello Kitty Cake recipe on Veibrant Recipes! This guide shows you how to make an adorable, fun, and surprisingly easy cake that’s perfect for birthdays, parties, or any Hello Kitty fan. With step-by-step instructions and creative decorating ideas, you’ll have a sweet masterpiece that’s almost too cute to eat.
Get all the details here:
Hello Kitty Cake on Veibrant Recipes
Tips for Transporting and Serving the Barbie Cake
Transporting such a delicate creation can be daunting; after all, one bump in the road could spell disaster for my masterpiece! To ensure safe travels, I carefully placed the cake on a sturdy cake board and secured it with dowels for added stability. Wrapping it in plastic wrap helped protect it from any potential mishaps during transit.
As I loaded it into my car, I drove slowly and cautiously—every turn felt like an adventure! When we arrived at the party venue, everyone gathered around as I unveiled the cake. The look on my niece’s face was priceless; her eyes lit up with joy!
Serving it was just as important as making it; using a sharp knife allowed me to cut clean slices without disturbing Barbie’s elegant form. As each slice was served, laughter filled the room—this cake had not only been a labor of love but also a source of joy for everyone present.
5 Common Mistakes to Avoid and Their Solutions
Reflecting on my experience making this Barbie cake, I’ve identified some common pitfalls that can easily derail even seasoned bakers. One mistake is not allowing your cakes to cool completely before icing them; this can lead to melting frosting or uneven layers. To avoid this, always let your cakes cool on wire racks for at least an hour before you start decorating.
Another common error is using too much food coloring in your icing; while vibrant colors are appealing, too much can alter the texture and taste of your frosting. A little goes a long way! If you find yourself in this situation, try adding more powdered sugar or butter to balance out the color without compromising flavor.
Lastly, don’t forget about stability—using dowels or straws between layers can prevent your cake from collapsing under its own weight. In conclusion, making an ultimate Barbie cake is not just about following steps; it’s about infusing love and creativity into every layer. From choosing ingredients to adding those final touches, each moment is an opportunity to create something magical that will be cherished by loved ones for years to come.
So grab your apron and let your imagination run wild—your very own Barbie cake awaits!
FAQs
What ingredients and tools do I need to make a Barbie cake?
To make a Barbie cake, you will need ingredients such as flour, sugar, eggs, butter, baking powder, vanilla extract, and food coloring. You will also need tools such as cake pans, a Barbie doll, a mixer, piping bags, and various decorating tips.
How do I bake the perfect Barbie cake base?
To bake the perfect Barbie cake base, you will need to follow a specific recipe and ensure that you properly prepare the cake pans, mix the batter thoroughly, and bake the cake at the right temperature for the advised time.
How can I get the Barbie doll set up for the cake?
To prepare the Barbie doll for the cake, you will need to wrap the doll’s lower half in plastic wrap to protect it from the cake and then insert it into the center of the cake base.
How do I create the perfect icing and decorations for a Barbie cake?
To create the perfect icing and decorations for a Barbie cake, you will need to make a smooth and creamy buttercream icing and use food coloring and various decorating tips to create intricate designs and details.
How do I assemble the Barbie cake layers?
To assemble the Barbie cake layers, you will need to carefully stack and frost each layer, ensuring that the cake is level and stable before adding the Barbie doll in the center.
What are some tips for transporting and serving a Barbie cake?
To transport and serve a Barbie cake, it is recommended to use a sturdy cake board and a cake carrier for transportation. When serving, use a sharp knife to cut the cake and carefully remove the Barbie doll before slicing.
What are some common mistakes to avoid when making a Barbie cake?
Common mistakes to avoid when making a Barbie cake include overbaking the cake, using too much food coloring in the icing, not properly preparing the Barbie doll, and not allowing the cake layers to cool before assembling. Solutions to these mistakes include following the recipe closely, practicing patience, and paying attention to detail.
barbie cake
Ingredients
- All-purpose flour
- Sugar
- Eggs
- Butter
- Baking powder
- Vanilla extract
- Food coloring pink, purple
- Powdered sugar
- Milk
- Fondant various colors
- Edible glitter
- Edible pearls
- Classic Barbie doll
- Pros:
- Visually stunning centerpiece for a birthday party
- Fun and creative baking project
- Allows for artistic expression through icing and decorations
- Can be customized with different colors and fondant designs
- Cons:
- Requires patience and attention to detail
- Can be time-consuming
- Potential for mistakes during baking and assembly
- Requires specific tools and ingredients
Instructions
- Bake the Cake Base: Preheat oven to 350°F (175°C). Mix dry ingredients in one bowl and wet ingredients in another. Combine and pour into round cake pans. Bake for 30 minutes, until golden brown. Let cool completely.
- Prepare the Barbie Doll: Unwrap Barbie doll and wrap the lower half in plastic wrap. Trim the bottom of her dress if needed.
- Create Icing and Decorations: Make buttercream frosting by mixing butter, powdered sugar, milk, and vanilla extract. Add food coloring. Create fondant flowers by rolling out fondant and cutting petal shapes.
- Assemble the Cake Layers: Place the first layer on a cake board and spread icing between each layer. Stack layers carefully and secure with dowels for stability. Make a hole in the center of the top layer and insert the Barbie doll.
- Add Finishing Touches: Cover the entire cake with pink buttercream. Pipe decorative swirls around the base. Adorn the skirt with fondant flowers and edible pearls. Sprinkle edible glitter over the entire cake.
- Transport and Serve: Place the cake on a sturdy cake board and secure with dowels. Wrap in plastic wrap for transport. Use a sharp knife to cut slices and carefully remove the Barbie doll before serving.

