When I decided to bake a unicorn cake, I quickly learned that the right ingredients and tools are essential. Standing in the baking aisle, I felt overwhelmed by choices: flour, sugar, eggs, vibrant food coloring, vanilla extract, and other magical items. I opted for a cake mix for convenience but grabbed high-quality butter and fresh eggs to enhance the flavor. Mixing bowls, measuring cups, and a whisk were crucial, but a stand mixer proved to be a game-changer. As I laid everything out, excitement bubbled within me. This project promised fun, color, and a touch of enchantment.
When I first decided to embark on the adventure of baking a unicorn cake, I quickly realized that gathering the right ingredients and tools was crucial. I remember standing in the baking aisle of my local grocery store, overwhelmed by the sheer number of options. Flour, sugar, eggs, and butter were just the basics, but I also needed vibrant food coloring, vanilla extract, and a few other magical ingredients to bring my vision to life.
I opted for a box of cake mix for convenience, but I made sure to grab some high-quality butter and fresh eggs to elevate the flavor. In addition to the ingredients, I found that having the right tools made all the difference. I invested in a set of mixing bowls, measuring cups, and a whisk.
But the real game-changer was my stand mixer; it made whipping up the batter a breeze. I also gathered cake pans, parchment paper, and a cooling rack. As I laid everything out on my kitchen counter, I felt a rush of excitement.
This was going to be a fun and colorful project, and I was ready to dive in!
Table of Contents
Preparing the Cake Batter and Coloring
Once I had everything in place, it was time to prepare the cake batter. Following the instructions on the box mix, I combined the dry ingredients with eggs, butter, and milk. The moment I started mixing, the sweet aroma filled my kitchen, and I couldn’t help but sneak a taste of the batter.
It was delicious! But what really made this cake special was the vibrant colors I planned to add. I divided the batter into separate bowls and added different shades of food coloring—pink, purple, blue, and yellow.
As I stirred each bowl, I marveled at how each color transformed the plain batter into a rainbow of possibilities. It reminded me of my childhood when I would mix paints for art projects, creating something beautiful from simple materials. Pouring each colored batter into the prepared cake pans felt like an artist layering paint on a canvas.
I couldn’t wait to see how they would turn out!
Baking and Cooling the Cake Layers
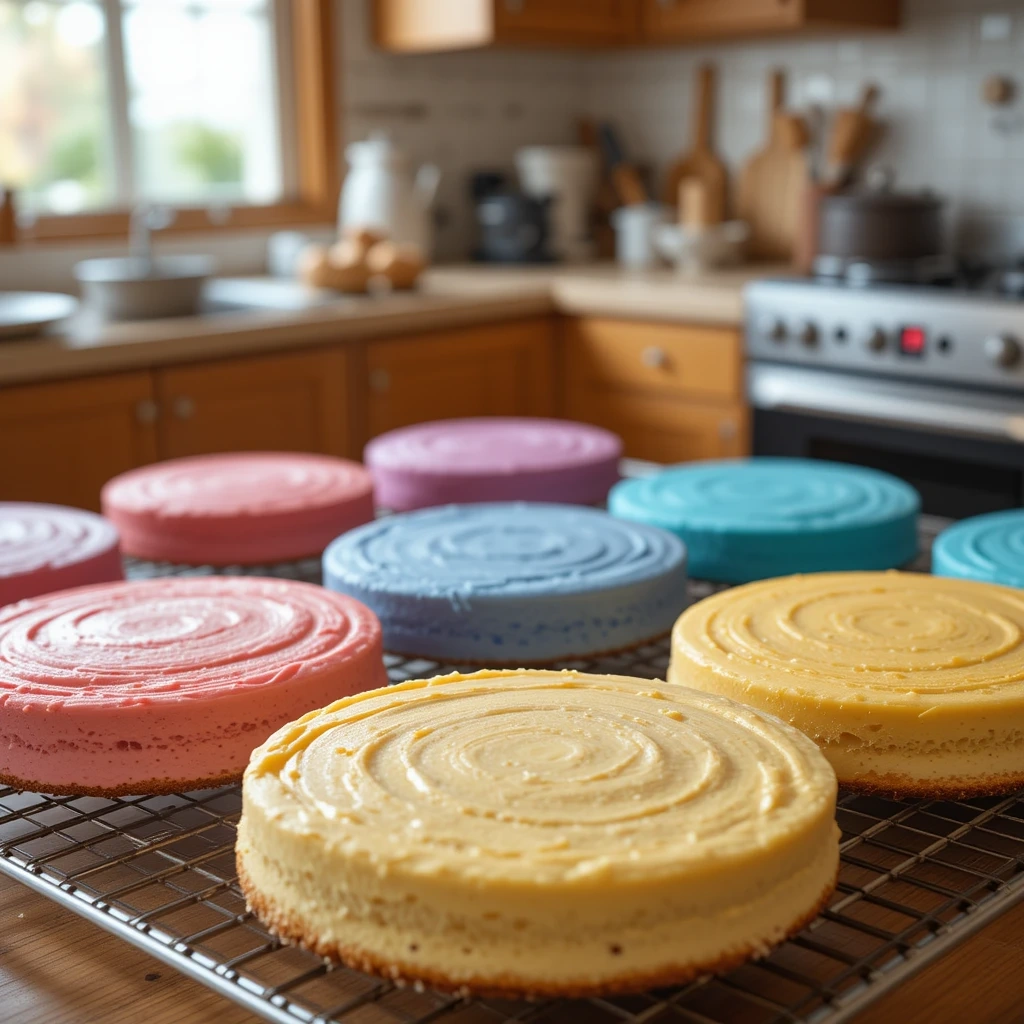
With the batter poured into the pans, it was time to pop them into the oven. The anticipation was palpable as I set the timer and watched through the oven window as they began to rise. The smell of baking cake wafted through my home, bringing back memories of family gatherings where desserts were always the highlight.
After what felt like an eternity, the timer finally went off, and I carefully removed the pans from the oven. Letting the cake layers cool was a test of patience. I remember trying to resist the urge to sneak a piece while they were still warm.
Once they were cool enough to handle, I gently turned them out onto a cooling rack. As I stacked them up, I admired their vibrant colors peeking through. It was hard to believe that these layers would soon transform into a whimsical unicorn cake!
Making the Unicorn Horn and Ears
| Step | Materials | Time |
|---|---|---|
| 1 | Felt headband with a hot glue gun | 10 minutes |
| 2 | Foam sheet with gold or silver glitter, | 15 minutes |
| 3 | Scissors, marker | 5 minutes |
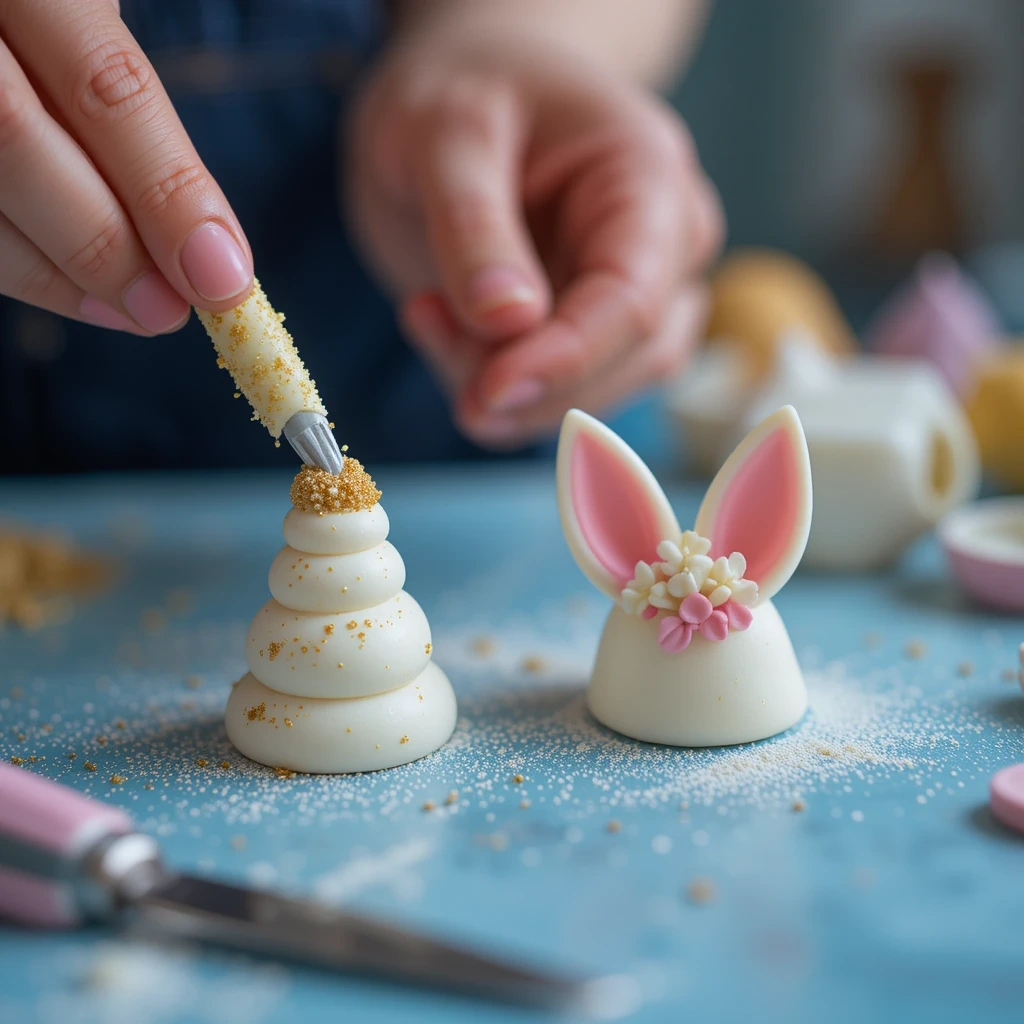
Creating the unicorn horn and ears was one of my favorite parts of this baking adventure. For the horn, I decided to use modeling chocolate because it’s easy to shape and holds its form well. I melted some white chocolate and mixed it with corn syrup until it reached a pliable consistency.
As I rolled it into a cone shape, I felt like a sculptor crafting a masterpiece. Once shaped, I dusted it with edible gold glitter to give it that magical touch. The ears were equally fun to make.
Using fondant, I rolled out small pieces and shaped them into triangles for the ears. To add some flair, I used a bit of pink fondant for the inner ear details. As I placed them alongside the horn on my countertop, I couldn’t help but giggle at how adorable they looked.
It was like bringing a little piece of fantasy into my kitchen!
Assembling and Frosting the Cake
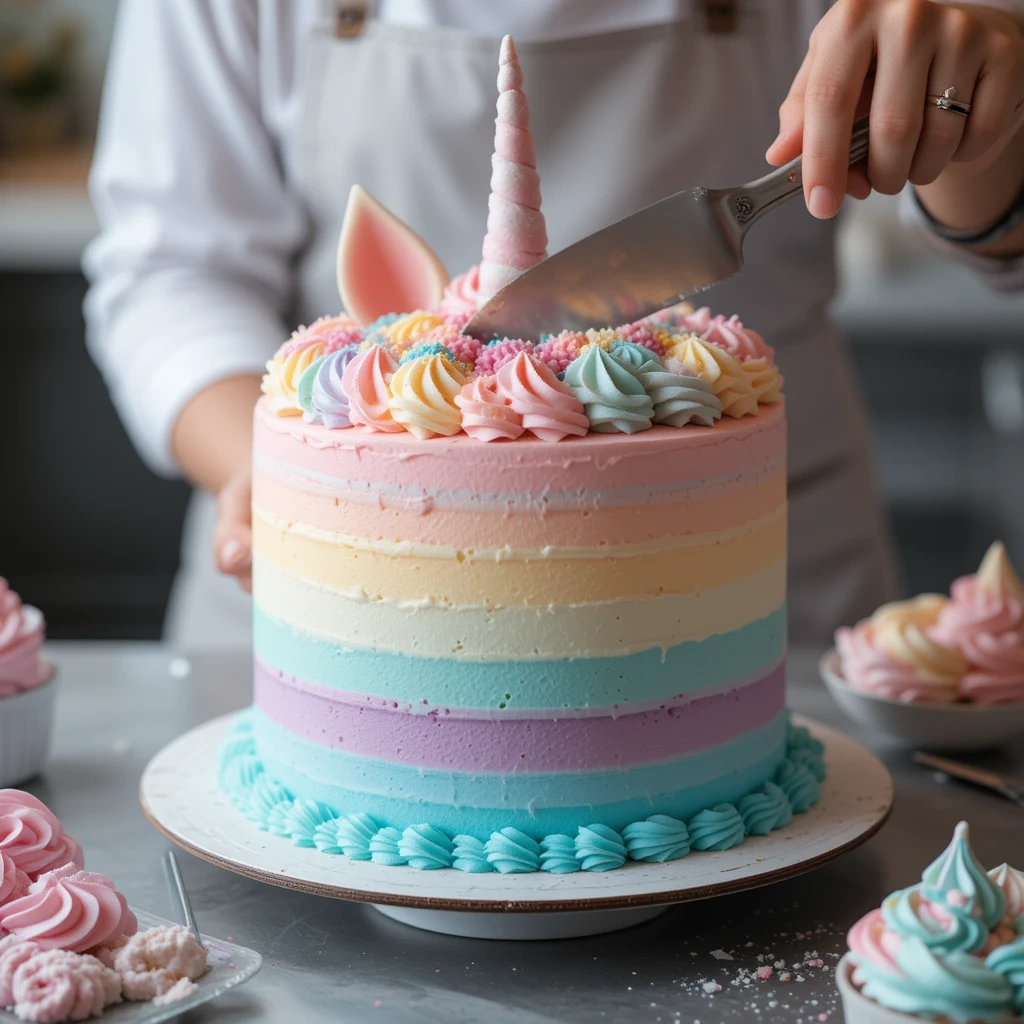
Assembling the cake was where everything came together beautifully. I started with one layer of cake on my serving platter and spread a generous layer of frosting between each layer. The frosting was a simple buttercream that I tinted with pastel colors to match the cake layers.
As I spread it on with an offset spatula, I felt like an artist painting a canvas—each stroke adding more life to my creation. Once all layers were stacked and frosted, it was time for the final coat of frosting. This part required some finesse; I wanted it to look smooth yet whimsical.
After achieving a somewhat rustic finish, I placed the unicorn horn atop the cake and positioned the ears just right. Seeing it all come together filled me with joy; it was starting to look like something out of a fairytale!
Decorating with Edible Glitter and Sprinkles
Unleashing Creativity
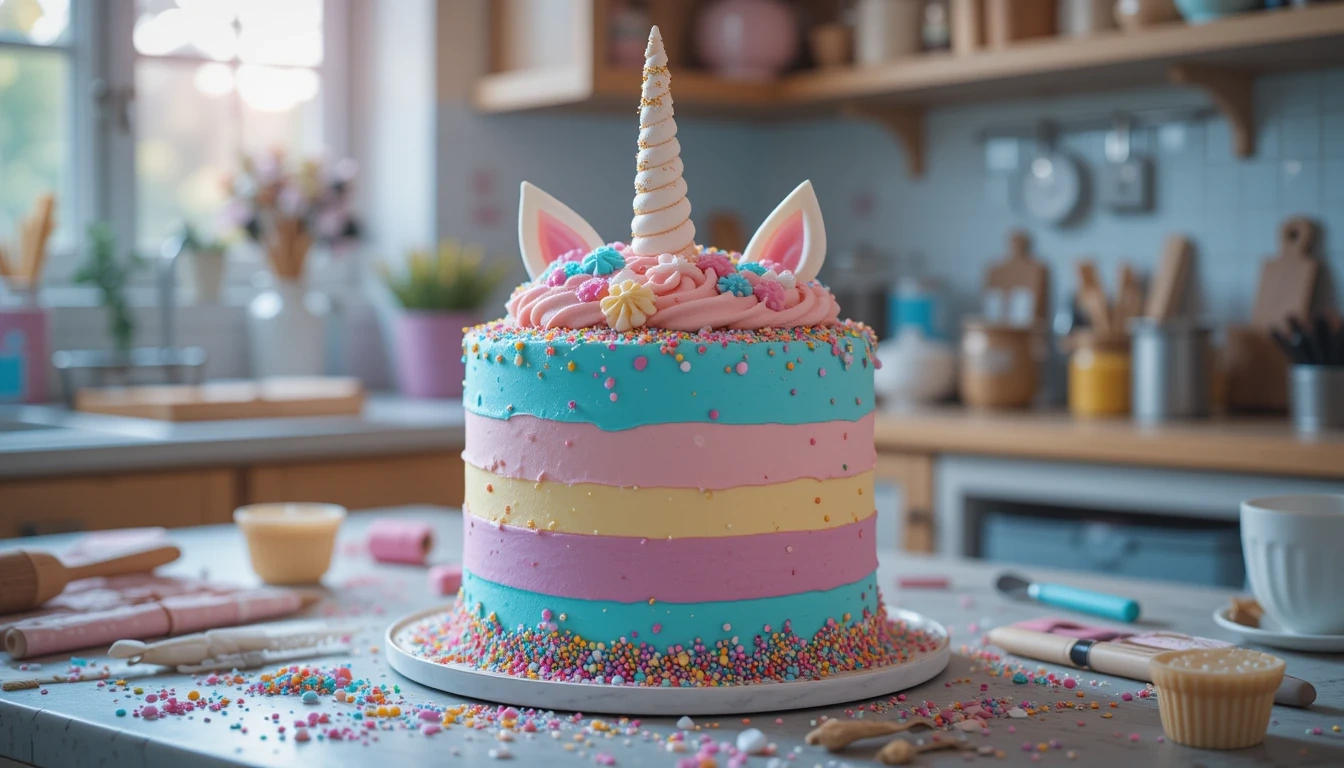
Armed with edible glitter and an array of colorful sprinkles, I let my creativity run wild. I sprinkled glitter over the top of the cake like fairy dust, making sure every inch sparkled in the light.
A Pop of Color
Then came the sprinkles; I scattered them around the base of the cake for an extra pop of color. As I stepped back to admire my work, I couldn’t help but feel proud. The cake looked enchanting!
A Celebration Waiting to Happen
It reminded me of birthday parties from my childhood where everything seemed magical—balloons floating in the air and laughter echoing around me. This unicorn cake was not just a dessert; it was a celebration waiting to happen.
Bring a touch of charm to your celebrations with Veibrant Recipes’ Hello Kitty Cake guide. This delightful tutorial walks you through crafting a fluffy vanilla cake adorned with fondant decorations to capture Hello Kitty’s iconic features. From baking the layers to shaping and decorating, the guide offers step-by-step instructions, making it accessible for both novice and experienced bakers. Perfect for birthdays and themed parties, this cake is sure to impress fans of all ages.
Adding the Finishing Touches
With most of the decorating done, it was time for those final touches that would elevate my unicorn cake from great to extraordinary. I decided to add some edible flowers for an organic touch; their delicate petals contrasted beautifully with the vibrant colors of the cake. Placing them strategically around the base added an elegant flair that made me feel like a professional baker.
Finally, I took a moment to step back and admire my creation one last time before serving it at a small gathering with friends. The excitement in their eyes as they saw the cake for the first time made all my efforts worthwhile. It was more than just baking; it was about crafting memories and spreading happiness with the people around me.
5 Common Mistakes to Avoid and Their Solutions
As someone who has navigated through various baking adventures, I’ve learned that there are common pitfalls when making a unicorn cake that can easily be avoided with some foresight. One mistake is not properly measuring ingredients; this can lead to an imbalanced batter that doesn’t rise correctly or tastes off. To avoid this, always use measuring cups and spoons for accuracy—trust me; your taste buds will thank you!
Another common error is overmixing the batter after adding flour; this can result in a dense cake rather than a light and fluffy one. To combat this issue, mix just until combined—it’s okay if there are a few lumps! Lastly, many novice bakers underestimate cooling time; trying to frost warm cakes can lead to melted frosting disaster!
Patience is key here; let those layers cool completely before you start decorating. In conclusion, making a unicorn cake at home is not only achievable but also incredibly rewarding! By gathering your ingredients thoughtfully, preparing your batter with care, and avoiding common mistakes along the way, you can create something truly magical that will delight both young and old alike.
Get ready to get creative and make your own unicorn cake—roll up your sleeves and let your imagination run wild!
FAQs
What ingredients and tools do I need to make a unicorn cake at home?
To make a unicorn cake at home, you will need ingredients such as flour, sugar, eggs, butter, vanilla extract, baking powder, salt, and food coloring. You will also need tools such as cake pans, mixing bowls, an electric mixer, a cooling rack, and various decorating tools like piping bags and tips.
How do I prepare the cake batter and add coloring for a unicorn cake?
To prepare the cake batter for a unicorn cake, you will need to mix the dry ingredients and wet ingredients separately, then combine them until smooth. Once the batter is ready, you can divide it into separate bowls and add food coloring to create the desired unicorn colors, such as pastel shades of pink, purple, and blue.
What is the process for baking and cooling the cake layers?
After preparing the cake batter and adding coloring, you will need to pour the batter into the prepared cake pans and bake them in the oven according to the recipe instructions. Once the cakes are baked, you should allow them to cool in the pans for a few minutes before transferring them to a cooling rack to cool completely.
How do I make the unicorn horn and ears for the cake?
To make the unicorn horn, you can use fondant or modeling chocolate to create a cone shape, then add edible gold or silver dust for a magical touch. For the ears, you can cut out ear shapes from fondant or gum paste and let them dry before attaching them to the cake.
What is the process for assembling and frosting the unicorn cake?
To assemble the unicorn cake, you will need to stack the cooled cake layers with a layer of frosting in between each one. Then, you can apply a crumb coat of frosting to the entire cake before adding a final layer of frosting for a smooth finish.
How can I decorate the unicorn cake with edible glitter and sprinkles?
You can decorate the unicorn cake with edible glitter by sprinkling it over the frosted cake for a magical shimmer. You can also add colorful sprinkles or edible pearls to create a whimsical and festive look.
What are the finishing touches for a unicorn cake?
The finishing touches for a unicorn cake can include adding additional decorations such as edible flowers, fondant stars, or even a small toy unicorn figurine for an extra touch of whimsy.
What are the top 5 mistakes people make when baking a unicorn cake, and how can I fix them?
Some common mistakes to avoid when making a unicorn cake include overmixing the batter, using too much food coloring, not allowing the cakes to cool completely before frosting, applying too much frosting, and not planning the design ahead of time. To solve these issues, be sure to mix the batter just until combined, use food coloring sparingly to avoid a bitter taste, allow the cakes to cool fully before frosting, use a light hand when applying frosting, and plan the design and decorations in advance to ensure a cohesive and magical look.

unicorn cake
Ingredients
- Flour
- * Sugar
- * Eggs
- * Butter
- * Vanilla extract
- * Baking powder
- * Salt
- * Food coloring pink, purple, blue, yellow
- * Frosting
- * Edible glitter
- * Sprinkles
- * Fondant or modeling chocolate for horn and ears
- Pros:
- * Fun and creative baking project.
- * Visually appealing and magical.
- * Great for celebrations and parties.
- * Customizable with various colors and decorations.
- Cons:
- * Requires patience and attention to detail.
- * Can be time-consuming.
- * Potential for mistakes if not careful with measurements and techniques.
Instructions
- Gather ingredients and tools.
- Prepare cake batter and divide into separate bowls.
- Add food coloring to each bowl to create desired colors.
- Pour batter into prepared cake pans and bake.
- Let cake layers cool completely.
- Make unicorn horn and ears using fondant or modeling chocolate.
- Assemble cake by layering with frosting.
- Frost the entire cake.
- Add unicorn horn and ears.
- Decorate with edible glitter and sprinkles.
- Add finishing touches like edible flowers or fondant stars.

1 thought on “7 Magical Steps to Make the Perfect Unicorn Cake at Home”