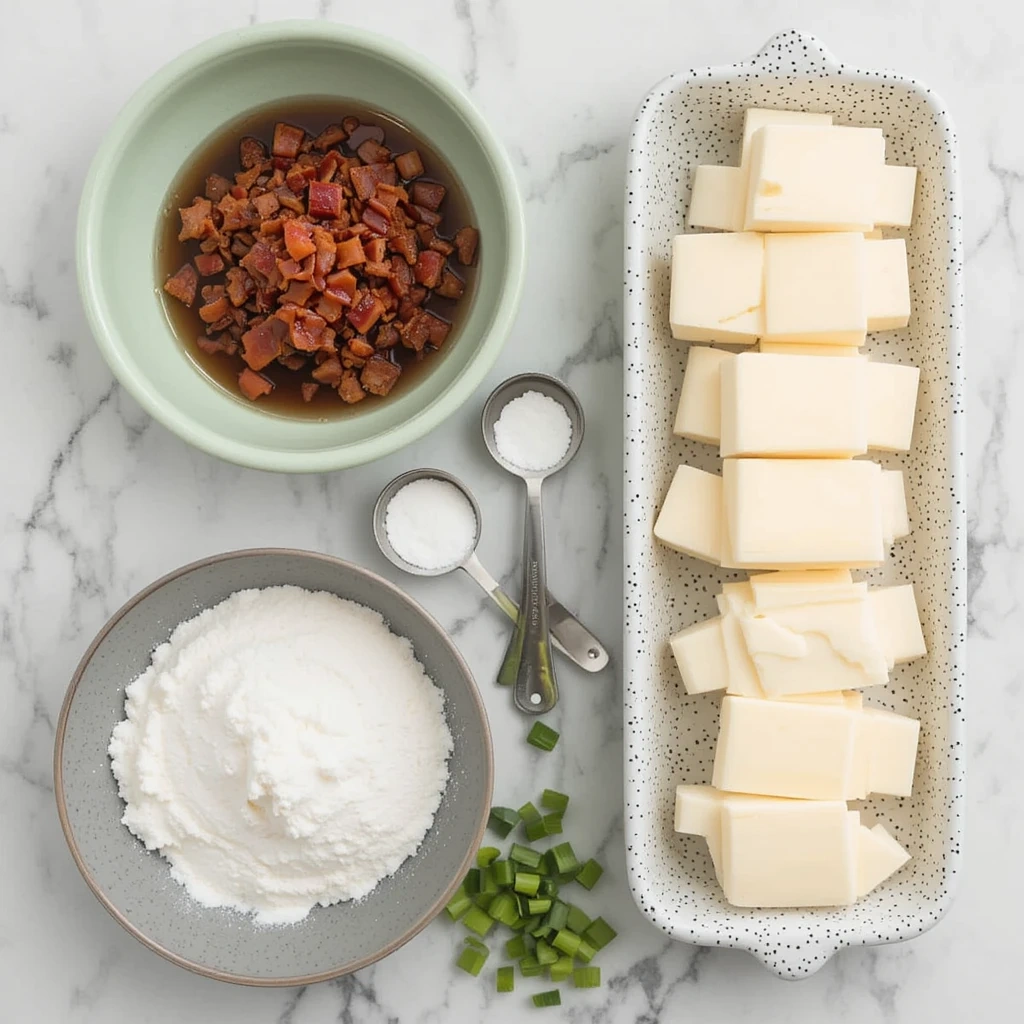
When I first decided to make a chipped beef-cheese ball, I was both excited and a bit overwhelmed. The beauty of this dish lies in its simplicity, but gathering the right ingredients is essential for attaining the ideal harmony of flavors.I started with the essentials: cream cheese, chipped beef, and a blend of spices.
I remember standing in the grocery aisle, scanning the shelves for the best quality cream cheese. It’s amazing how something so simple can make or break a dish. I also picked up some Worcestershire sauce, which adds a delightful umami kick that elevates the entire flavor profile.
In addition to the main ingredients, I made sure to gather my supplies. A mixing bowl, a spatula, and plastic wrap were all on my list. I also grabbed some chopped nuts and fresh herbs for rolling the cheese ball later on.
I recall my grandmother’s advice echoing in my mind: “Always have everything ready before you start cooking.” This tip has served me well over the years, and it made the process much smoother. With my ingredients and supplies in hand, I was ready to dive into the next step.
Table of Contents
Preparing the Chipped Beef and Cheese Mixture
Looking for bold and flavorful meat dishes? Check out these Carne Picada Meat Recipes from Veibrant Recipes! Whether you’re craving tacos, stir-fries, or hearty skillet meals, this guide has easy and delicious ways to cook carne picada for any occasion.
Click here to explore the recipes!
The Flavorful Combination
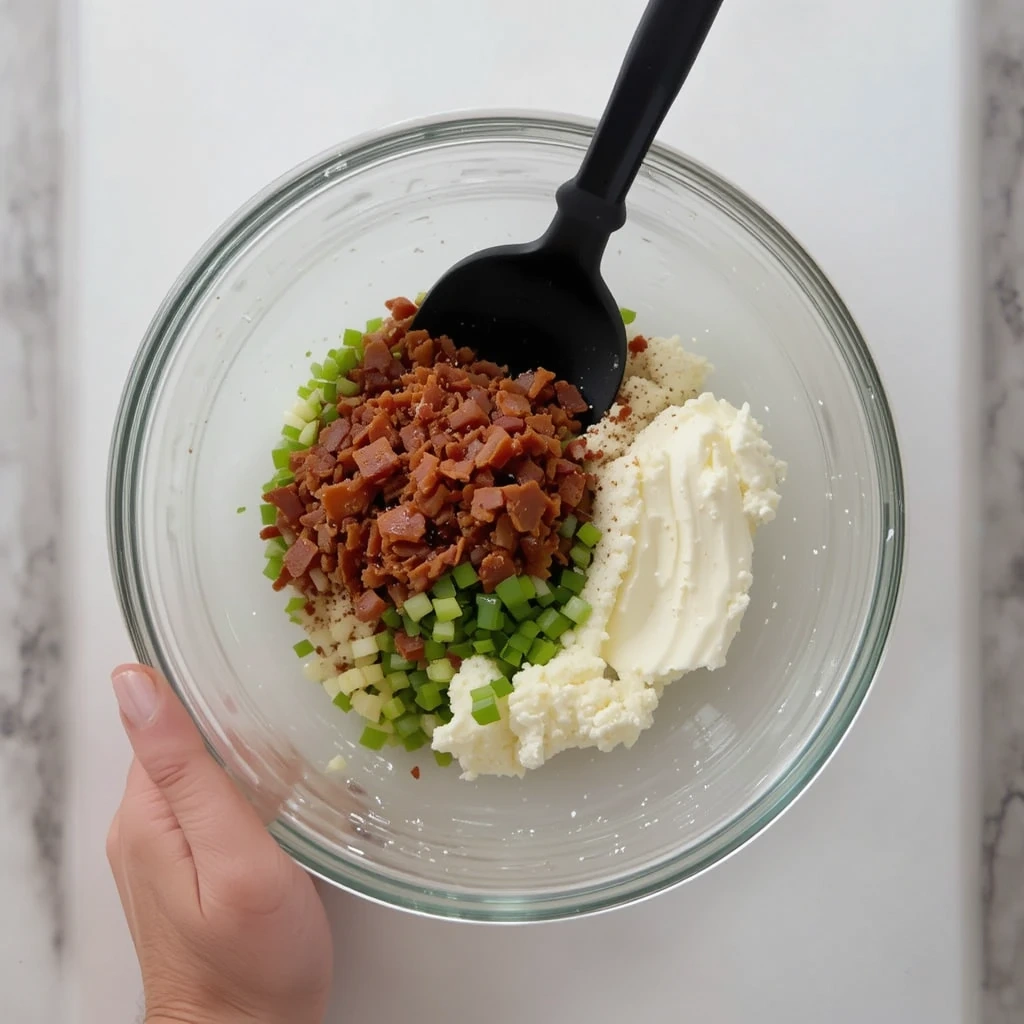
The salty, savory flavor of the beef combined with the creamy texture of the cheese brought back memories of laughter and good times around the table. Next, I added Worcestershire sauce, garlic powder, and a sprinkle of black pepper to enhance the flavor. The aroma wafting through my kitchen was intoxicating.
The Art of Blending Flavors
I remember my friend Sarah once told me that cooking is like painting; you need to know how to blend your colors to create a masterpiece. As I stirred the mixture, I felt like an artist crafting something special. Once everything was well combined, I tasted it and adjusted the seasoning as needed.
A Delightful Balance
It was a delightful balance of creamy and savory, just as I had hoped.
Shaping and Chilling the Cheese Ball
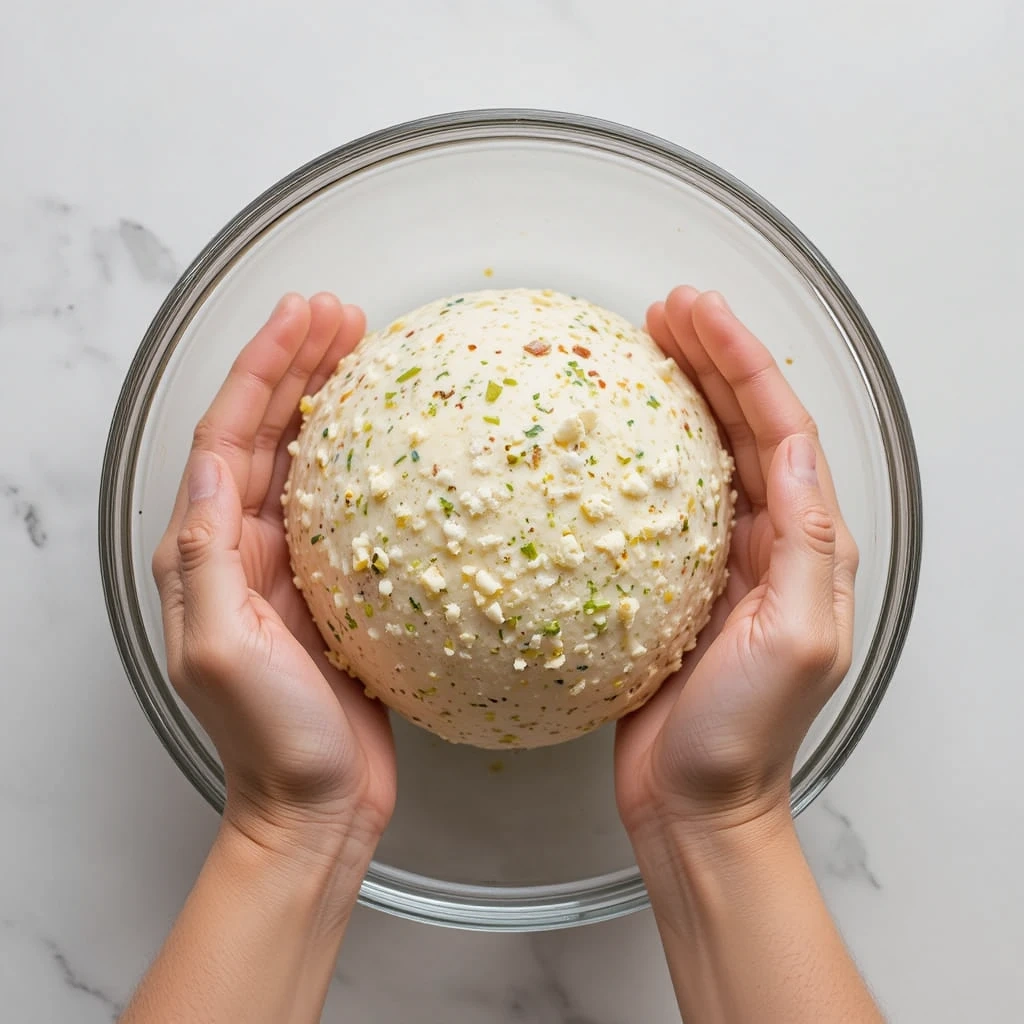
Once my mixture was ready, it was time to shape it into a ball. I laid out a large piece of plastic wrap on my countertop and spooned the mixture onto it. With my hands slightly dampened to prevent sticking, I began to mold it into a round shape.
This part always reminds me of playing with clay as a child; there’s something satisfying about shaping something with your own hands. After achieving a nice round form, I wrapped it tightly in plastic wrap and placed it in the refrigerator. Chilling is an essential step that allows the flavors to meld together while firming up the cheese ball.
As I waited for it to set, I found myself daydreaming about all the occasions where this dish would shine—holiday parties, game nights, or even just a cozy evening with friends. The anticipation built as I imagined how everyone would react when they took their first bite. After a couple of hours, I finally pulled it out of the fridge, and it was time to transition to the next stage.
Rolling the Cheese Ball in Chopped Nuts or Herbs
| Ingredient | Amount |
|---|---|
| Cheese ball | 1 |
| Chopped nuts or herbs | As needed |
| Rolling time | 5 minutes |
| Result | Coated cheese ball |
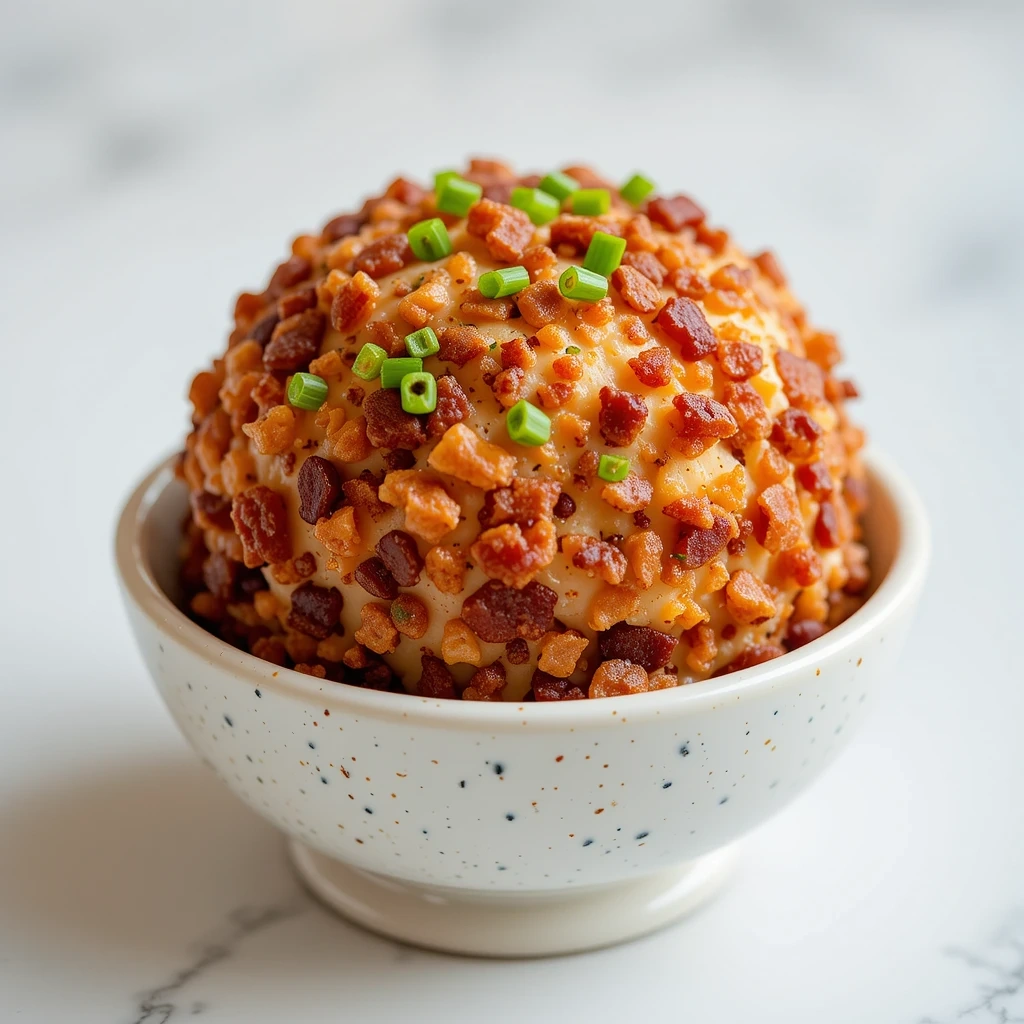
The moment had arrived to give my cheese ball its final touch: rolling it in chopped nuts or fresh herbs. I opted for a mix of pecans and parsley this time, as I love how they add both texture and color to the dish. As I poured the chopped nuts onto a plate, I felt a sense of pride knowing that this simple step would elevate my creation even further.
Carefully unwrapping the cheese ball from its plastic cocoon, I rolled it gently in the nuts until it was fully coated. This part always feels like decorating a cake; it’s where you can really let your creativity shine. The crunchiness of the nuts contrasted beautifully with the creamy interior of the cheese ball.
As I admired my handiwork, I couldn’t help but think about how presentation matters just as much as taste. A well-presented dish can make even the simplest recipes feel gourmet. With my cheese ball fully adorned, it was time to prepare for serving.
Looking for the perfect appetizer to complement your chicken tortellini dish? Try this Easy Chipped Beef Cheese Ball from The Recipe Critic! It’s a creamy, savory, and flavorful snack that’s perfect for parties, gatherings, or a tasty side to your main meal.
Serving Suggestions and Accompaniments
When it comes to serving my ultimate chipped beef-cheese ball, I like to keep things simple yet elegant. A wooden cheese board is my go-to for presentation; it adds a rustic charm that complements the dish perfectly. Surrounding the cheese ball with an array of crackers, fresh vegetables, and even some sliced baguette creates an inviting spread that encourages guests to dig in.
I remember one particular gathering where I paired it with homemade crostini; they were a hit! I also love to include some sweet accompaniments like fig jam or honey on the side. The sweetness balances out the savory flavors of the cheese ball beautifully.
As guests arrived and took their first bites, their smiles told me everything I needed to know—this dish was a crowd-pleaser! Watching everyone enjoy something I had created filled me with joy and reminded me why I love cooking so much.
Storing and Transporting the Cheese Ball
Common Mistakes to Avoid
I’ve learned from experience that leaving your cheese ball uncovered can lead to drying out or preventing the absorption of unpleasant smells from other foods in the refrigerator. This can be a real disappointment, especially if you’re looking forward to enjoying your cheese ball later.
Transporting Your Cheese Ball
Transporting a cheese ball can be tricky, especially if you’re heading to a potluck or gathering. I’ve made the mistake of not securing it properly, and let’s just say it didn’t arrive in one piece! To avoid this, always place your cheese ball in a sturdy container with some ice packs if necessary to keep it cool during transit.
Arriving Fresh and Delicious
By following these simple storage and transportation tips, you can ensure that your cheese ball arrives at your destination just as fresh and delicious as when you made it. With a little planning and care, you can enjoy your cheese ball for days to come.
Variations and Flavor Additions
While the classic chipped beef-cheese ball is undeniably delicious, there are countless variations you can try to keep things interesting. One of my favorite twists is adding diced jalapeños for a spicy kick; it’s great for those who appreciate some heat in their appetizers. Another variation that has become popular among my friends is incorporating sun-dried tomatoes and basil for an Italian flair—this combination is always a hit at summer gatherings.
I’ve also experimented with different types of cheeses beyond cream cheese; goat cheese adds a tangy flavor that pairs wonderfully with herbs and spices. The possibilities are endless! Every time I prepare this dish, I feel motivated to experiment with something different.based on what ingredients I have on hand or what flavors I’m craving at that moment.
5 Common Mistakes to Avoid and Their Solutions
As with any recipe, there are common pitfalls that can occur when making a chipped beef-cheese ball. One mistake I’ve made in the past is not allowing the cream cheese to soften enough before mixing; this can lead to lumps in your mixture that are hard to blend out. To avoid this, always take your cream cheese out ahead of time or microwave it for just a few seconds—just be careful not to melt it!
Another common error is over-seasoning; it’s easy to get carried away with spices when you’re excited about flavoring your dish. My advice is to start small—add spices gradually and taste as you go along until you find that perfect balance. Lastly, don’t forget about chilling time!
Rushing this step can result in a cheese ball that falls apart when served; patience is key here. In conclusion, making the ultimate chipped beef-cheese ball is not only about following steps but also about enjoying the process and creating something special for those you love. Each time I make this dish, I’m reminded of cherished memories and new experiences waiting to be created around the table.
Collect your ingredients, prepare yourself, and get set to wow your friends. and family with this delightful appetizer!
FAQs
What ingredients and supplies do I need to make the ultimate chipped beef-cheese ball?
To make the ultimate chipped beef-cheese ball, you will need cream cheese, cheddar cheese, chipped beef, Worcestershire sauce, garlic powder, onion powder, chopped nuts or herbs for rolling, and crackers or bread for serving. You will also need a mixing bowl, a spatula or spoon for mixing, and plastic wrap for shaping and chilling the cheese ball.
How do I prepare the chipped beef and cheese mixture for the cheese ball?
To prepare the chipped beef and cheese mixture, start by allowing the cream cheese and cheddar cheese to come to room temperature. Then, mix the cream cheese, cheddar cheese, Worcestershire sauce, garlic powder, and onion powder in a mixing bowl until well combined. Gently fold in the chopped chipped beef until evenly distributed.
How do I shape and chill the cheese ball?
To shape the cheese ball, transfer the chipped beef and cheese mixture onto a sheet of plastic wrap. Utilize the plastic wrap to mold the mixture into a ball. After forming, securely enclose the cheese ball in the plastic wrap and place it in the refrigerator. at least 1-2 hours, or until firm.
How do I roll the cheese ball in chopped nuts or herbs?
After the cheese ball has chilled and firmed up, unwrap it from the plastic wrap and roll it in the chopped nuts or herbs until the entire surface is coated. Gently press the nuts or herbs into the cheese ball to ensure they adhere.
What are some serving suggestions and accompaniments for the cheese ball?
The chipped beef-cheese ball can be served with a variety of accompaniments such as crackers, bread, pretzels, or vegetable sticks. It can also be paired with fruit preserves, honey, or mustard for added flavor.
How should I store and transport the cheese ball?
To store the cheese ball, wrap it tightly in plastic wrap and place it in an airtight container in the refrigerator. When transporting the cheese ball, keep it chilled in a cooler or insulated bag to maintain its shape and freshness.
What are some variations and flavor additions I can make to the cheese ball?
You can customize the chipped beef-cheese ball by adding ingredients such as chopped green onions, diced bell peppers, hot sauce, or different types of cheese. Experimenting with a variety of herbs and spices can help you craft unique taste profiles.
What are 5 common mistakes to avoid when making a chipped beef-cheese ball, and their solutions?
1. Not allowing the cream cheese and cheddar cheese to come to room temperature: This can result in a lumpy and uneven mixture. Solution: Allow the cheeses to sit at room temperature for about 30 minutes before mixing. 2. Overmixing the chipped beef and cheese mixture: Overmixing can make the cheese ball too dense. Solution: Gently fold in the chipped beef until just combined. 3. Not chilling the cheese ball long enough: A lack of chilling time can result in a soft and difficult-to-shape cheese ball. Solution: Chill the cheese ball for at least 1-2 hours, or until firm. 4. Using too many nuts or herbs for rolling: Excessive coating can overpower the flavor of the cheese ball. Solution: Use a moderate amount of nuts or herbs for a balanced coating. 5. Storing the cheese ball improperly: Improper storage can cause the cheese ball to lose its shape and freshness. Solution: Wrap the cheese ball tightly in plastic wrap and store it in an airtight container in the refrigerator.

Chipped Beef-Cheese Ball:
Ingredients
- 1 8 oz package cream cheese, softened
- 1/2 cup cheddar cheese shredded
- 1 2.5 oz jar chipped beef, finely chopped
- 1 tsp Worcestershire sauce
- 1/2 tsp garlic powder
- 1/2 tsp onion powder
- 1/4 cup chopped nuts or herbs for rolling
- Crackers bread, or vegetables (for serving)
Instructions
- Prepare the Mixture: Soften cream cheese and cheddar cheese. Mix cream cheese, cheddar cheese, Worcestershire sauce, garlic powder, and onion powder until well combined. Gently fold in the chopped chipped beef until evenly distributed.
- Shape the Cheese Ball: Transfer the mixture onto a sheet of plastic wrap. Mold into a ball, wrap tightly, and refrigerate for at least 1-2 hours, or until firm.
- Coat the Cheese Ball: Unwrap the cheese ball and roll it in chopped nuts or herbs until fully coated. Gently press to adhere.
- Serve: Serve with crackers, bread, or vegetables.
Notes
- Mixing bowl
- Spatula or spoon
- Plastic wrap

