Rocky Road Fudge is a beloved chocolate treat that combines rich, creamy fudge with a delightful mix of chewy marshmallows, crunchy nuts, and sometimes other tasty additions like biscuit pieces or dried fruit. This indulgent dessert traces its roots back to the early 20th century, inspired by the original Rocky Road ice cream flavor created during the Great Depression. Legend has it that William Dreyer, co-founder of Dreyer’s Ice Cream, crafted the first Rocky Road ice cream by chopping marshmallows and mixing them with chocolate ice cream and nuts, aiming to bring a bit of joy during tough times. The name “Rocky Road” reflects both the bumpy texture of the mix-ins and the challenging economic period it was born in. Over time, Rocky Road evolved from ice cream into various desserts, with Rocky Road Fudge becoming a popular no-bake treat that captures the same irresistible combination of textures and flavors. Whether enjoyed as a nostalgic classic or a modern twist, Rocky Road Fudge remains a favorite for chocolate lovers seeking a sweet, satisfying indulgence
When I first decided to tackle the art of making rocky road fudge, I quickly learned that the key to success lies in gathering all the right ingredients and supplies beforehand. I remember standing in my kitchen, surrounded by a colorful array of items: semi-sweet chocolate chips, mini marshmallows, and crunchy walnuts. The excitement was palpable as I laid everything out on the counter, ready to embark on this sweet adventure.
I also made sure to grab a sturdy saucepan, a spatula, and a baking dish lined with parchment paper. Having everything at my fingertips not only made the process smoother but also allowed me to focus on the fun part—creating something delicious. As I gathered my supplies, I realized that the quality of the ingredients plays a crucial part in the end result.
I opted for high-quality chocolate chips, which I knew would melt beautifully and provide that rich, decadent flavor I was after. I also chose fresh nuts and fluffy marshmallows, ensuring that each bite would be a delightful combination of textures. It’s amazing how these small choices can elevate a simple recipe into something truly special.
With everything ready, I felt a surge of anticipation; I was about to create a treat that would not only satisfy my sweet tooth but also impress my friends and family.
Table of Contents
Melting the Chocolate and Marshmallows
The next step in my rocky road fudge journey was melting the chocolate and marshmallows. I remember the first time I attempted this; I was a bit nervous about burning the chocolate. It didn’t take long for me to understand that patience is crucial.
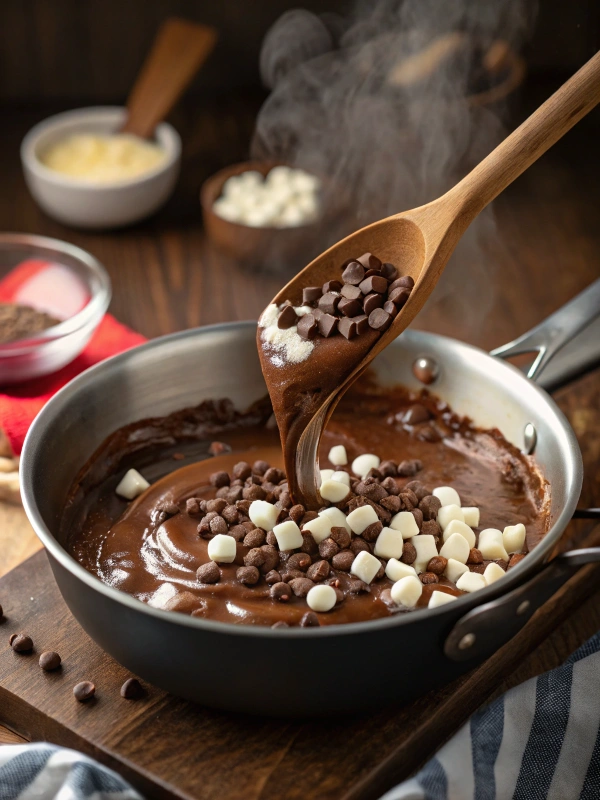
I placed the saucepan over low heat, adding the chocolate chips first. As they began to melt, I stirred gently, watching as they transformed from solid morsels into a glossy, velvety mixture. The aroma wafting through my kitchen was heavenly, and I couldn’t help but sneak a taste—pure bliss!
Once the chocolate was smooth and creamy, it was time to add the marshmallows. I tossed them in and watched as they began to soften and blend into the chocolate. The combination of flavors was intoxicating, and I found myself daydreaming about how delicious the finished fudge would be.
It’s important to keep stirring during this process to ensure everything melts evenly and doesn’t stick to the bottom of the pan. After a few minutes of stirring and coaxing the mixture into submission, I finally had a luscious chocolate-marshmallow concoction that was ready for the next step.
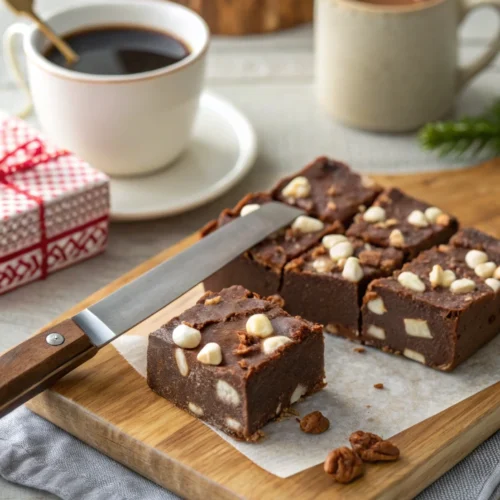
Rocky Road Fudge
Ingredients
- 3 cups granulated sugar
- 12 tablespoons salted butter cubed
- 3/4 cup evaporated milk
- 1 bag 12 oz semi-sweet chocolate chips
- 1 teaspoon vanilla extract
- 2 cups roasted peanuts
- 2 bags 10 oz each miniature marshmallows (divided)
- Pros
- Rich creamy texture with a perfect balance of sweet and crunchy
- Uses simple pantry-friendly ingredients
- No special equipment needed
- Can be made ahead and stored easily
- Classic nostalgic flavor loved by all ages
- Cons
- Requires a few hours to set properly
- Needs careful stirring during cooking to prevent scorching
- Contains nuts which may not suit all dietary restrictions
Instructions
- Line a 9×13-inch baking pan with parchment paper, leaving overhang for easy removal. Set aside.
- In a medium saucepan over medium heat, combine sugar, butter, and evaporated milk. Stir until melted and combined.
- Bring mixture to a boil, stirring continuously for 5 minutes to avoid scorching. (If using, heat to 235°F on candy thermometer.)
- Reduce heat to low. Add chocolate chips and vanilla extract; stir until chocolate is fully melted and smooth.
- Stir in 1 bag of mini marshmallows until melted and incorporated.
- Remove from heat and quickly fold in roasted peanuts. Then add the remaining mini marshmallows, folding them in gently to distribute evenly.
- Pour fudge mixture into prepared pan and spread evenly.
- Let fudge cool and set at room temperature for 2-3 hours or until firm.
- Once set, lift fudge from pan using parchment overhang and cut into squares. Serve at room temperature.
Adding Nuts and Other Mix-Ins
With my chocolate and marshmallow mixture perfectly melted, it was time to add the nuts and other mix-ins. This is the place where my creativity truly stands out!I had some walnuts on hand, which added a delightful crunch, but I also considered other options like almonds or even crushed pretzels for an unexpected twist.
As I poured in the walnuts, I could already envision how their earthy flavor would complement the sweetness of the fudge. It’s moments like these that remind me of my childhood when my mom would let me experiment with recipes in the kitchen. I also decided to throw in some mini chocolate chips for an extra layer of indulgence.
The thought of biting into a piece of fudge and discovering those little bursts of chocolate made my mouth water. As I mixed everything together, I felt a sense of satisfaction knowing that this fudge would be uniquely mine. The combination of textures—the smooth chocolate, fluffy marshmallows, and crunchy nuts—was coming together beautifully.
It’s these personal touches that make cooking so rewarding; each batch becomes a reflection of my tastes and preferences.
Looking for sweet treats that won’t derail your health goals? These Protein Desserts from Veibrant Recipes are the perfect solution! Packed with flavor and fuel, each recipe is designed to satisfy your sweet tooth while giving you a boost of energy. Whether you’re after chocolatey indulgence or fruity freshness, there’s something here that tastes as good as it is good for you.
Get all the delicious, high-protein dessert ideas here:
https://veibrantrecipes.com/protein-desserts/
Pouring and Setting the Fudge
| Step | Time | Temperature | Description |
|---|---|---|---|
| Pouring Fudge Mixture | 0:00 | 110°C | The fudge mixture is poured into a prepared pan and left to cool. |
| Setting Time | 0:30 | Room temperature | The fudge is left to set at room temperature for about 30 minutes. |
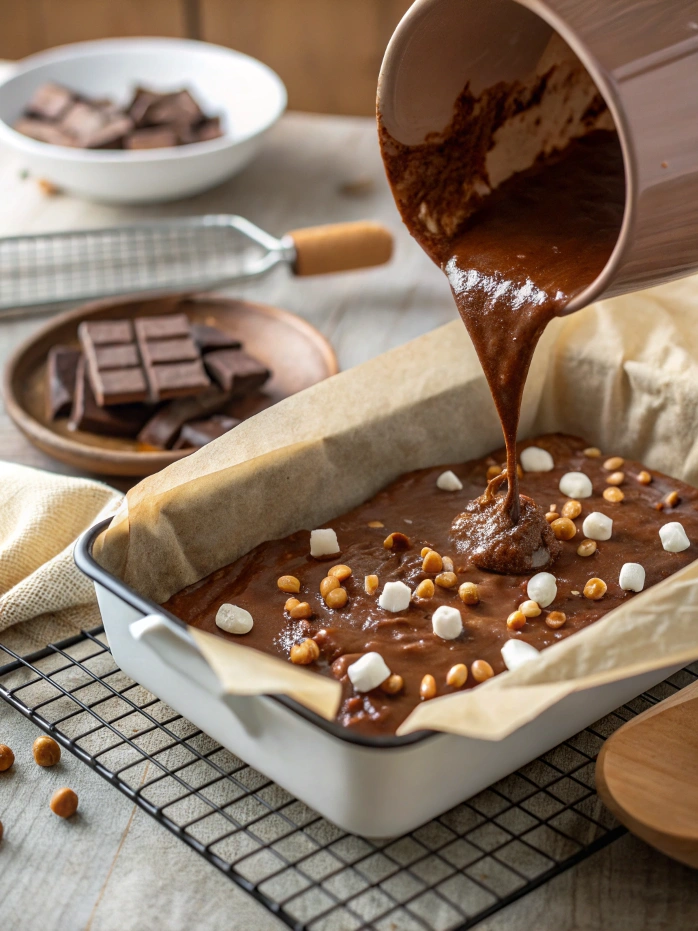
Once all my mix-ins were incorporated, it was time to pour the mixture into my prepared baking dish. This part always feels like a mini celebration for me; it’s the moment when all my hard work starts to take shape. As I carefully spread the fudge mixture into an even layer, I couldn’t help but admire its glossy surface glistening under the kitchen lights.
The anticipation built as I thought about how this warm concoction would soon transform into a solid treat. After smoothing out the top with my spatula, I placed the dish in the refrigerator to set. Waiting is often the hardest part for me; I’m not one to be patient when it comes to sweets!
However, I knew that allowing the fudge to chill properly would ensure it held its shape when cut into squares. While it cooled, I took a moment to clean up my workspace and reflect on how far I’d come in just under an hour. The thought of sharing this homemade treat with friends made it all worthwhile.
Cutting and Serving
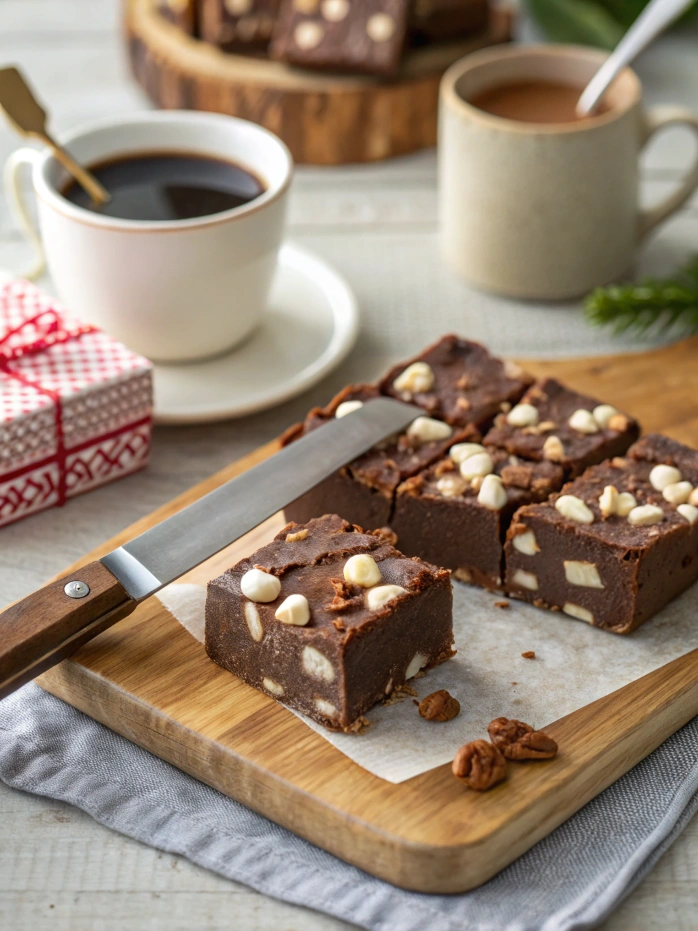
After what felt like an eternity (though it was probably only about 30 minutes), it was finally time to cut and serve my rocky road fudge. As I pulled it from the refrigerator, I was greeted by its firm yet slightly soft texture—just perfect for slicing. Using a sharp knife, I carefully cut through the fudge, revealing layers of chocolate, marshmallows, and nuts within each square.
The sight alone was enough to make my heart race with excitement. I decided to plate them up on a colorful serving dish for maximum visual appeal. As I arranged them neatly, I couldn’t help but sneak another piece for myself—after all, quality control is essential!
When my friends arrived later that evening, their eyes lit up at the sight of my homemade rocky road fudge. Watching them take their first bites filled me with joy; their smiles were all the validation I needed for my efforts in the kitchen.
Storing and Freezing Tips
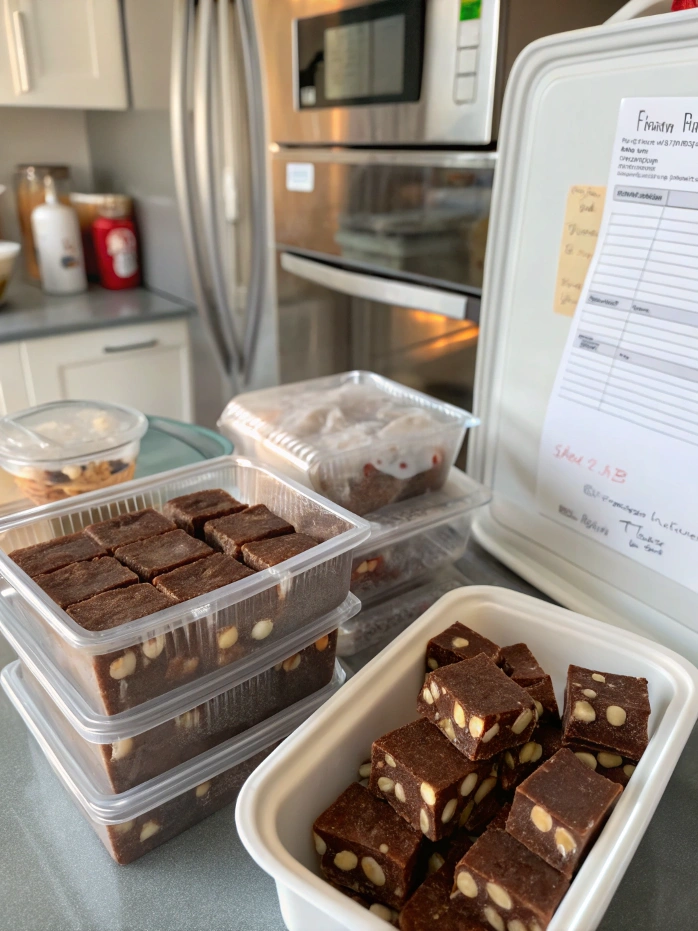
Here is the rewritten text with 3-4 Storing Homemade Fudge: Tips and Tricks When it comes to storing homemade fudge, it can be a bit tricky if you don’t know what you’re doing. But don’t worry, I’ve got you covered! ### Storing Fudge at Room Temperature For rocky road fudge, I recommend placing itinside a sealed container with parchment paper placed between layers to avoid sticking. This way, it stays fresh for up to two weeks—if it lasts that long! If you find yourself with more fudge than you can eat in a couple of weeks (which is often my case), freezing is an excellent option! ### Freezing Fudge for Later I remember one time when I made an enormous batch for a holiday party; after everyone had their share, I froze some for later enjoyment. To freeze, simply cut the fudge into squares and wrap each piece tightly in plastic wrap before placing them in a freezer-safe container. Thawing Frozen Fudge When you’re ready for a sweet treat again, just let them thaw at room temperature for about 30 minutes—easy peasy!
Variations and Flavor Ideas
One of the best parts about making rocky road fudge is how versatile it can be! After mastering the classic version, I’ve experimented with various flavors and mix-ins that have taken my fudge game to new heights. For instance, one day I decided to swap out walnuts for crushed peppermint candies during the holiday season; it added a refreshing twist that everyone loved!
In my opinion, chocolate and mint make an unbeatable combination. Another variation that has become a favorite is adding peanut butter chips alongside the chocolate chips for an extra layer of richness. The creamy peanut butter flavor melds beautifully with the chocolate and marshmallows, creating an indulgent treat that’s hard to resist.
Sometimes I’ll even drizzle melted white chocolate over the top before cutting it into squares for an elegant touch. The possibilities are endless, and each new creation feels like an exciting culinary adventure!
5 Common Mistakes to Avoid and Their Solutions
As with any recipe, there are common pitfalls that can trip up even seasoned bakers when making rocky road fudge. One mistake I’ve made in the past is using chocolate that’s not meant for melting—like baking chocolate or low-quality brands—which can lead to clumpy or grainy fudge. To avoid this, always opt for high-quality chocolate chips specifically designed for melting; they’ll give you that smooth texture you’re after.
Another common error is not allowing enough time for the fudge to set properly in the refrigerator before cutting it. Trust me; I’ve been there! Rushing this step can result in messy squares that fall apart instead of holding their shape.
Patience is key here; give your fudge at least two hours to chill before slicing into it. Lastly, don’t forget to line your baking dish with parchment paper! This simple step makes removing your fudge so much easier and prevents any sticky disasters from occurring.
In conclusion, making perfect rocky road fudge in under an hour is not only achievable but also incredibly rewarding. With just a few easy steps—from gathering ingredients to experimenting with flavors—you can create a scrumptious delicacy that will astonish anyone who gets to savor it! So grab your supplies and get ready to indulge in this sweet adventure; you won’t regret it!
FAQs
What are the ingredients and supplies needed to make rocky road fudge?
The ingredients and supplies needed to make rocky road fudge typically include chocolate chips, sweetened condensed milk, mini marshmallows, nuts (such as almonds or walnuts), vanilla extract, and a square baking dish.
How do you melt the chocolate and marshmallows for rocky road fudge?
To melt the chocolate and marshmallows for rocky road fudge, you can use a double boiler or microwave. If using a double boiler, place the chocolate chips and sweetened condensed milk in the top of the double boiler and stir until melted. If using a microwave, heat the chocolate chips and sweetened condensed milk in a microwave-safe bowl in 30-second intervals, stirring in between, until melted.
What are some common mix-ins for rocky road fudge?
Common mix-ins for rocky road fudge include chopped nuts (such as almonds or walnuts), mini marshmallows, and crushed cookies or candy pieces.
How do you pour and set the rocky road fudge?
After mixing in the nuts and other mix-ins, pour the fudge mixture into a square baking dish lined with parchment paper. Smooth the top with a spatula and then refrigerate for at least 2 hours, or until set.
What is the best way to cut and serve rocky road fudge?
Once the fudge is set, lift it out of the baking dish using the parchment paper and place it on a cutting board. Use a sharp knife to cut the fudge into squares, and then serve.
How should rocky road fudge be stored and can it be frozen?
Rocky road fudge should be stored in an airtight container at room temperature for up to 1 week, or in the refrigerator for up to 2 weeks. It can also be frozen for up to 3 months in an airtight container.
What are some variations and flavor ideas for rocky road fudge?
Some variations and flavor ideas for rocky road fudge include adding dried fruit, shredded coconut, or different types of nuts. You can also experiment with different flavors of chocolate chips, such as white chocolate or butterscotch.
What are 5 common mistakes to avoid when making rocky road fudge and their solutions?
Some common mistakes to avoid when making rocky road fudge include overheating the chocolate, not stirring the fudge mixture enough, using expired ingredients, not lining the baking dish with parchment paper, and cutting the fudge before it has fully set. Solutions include using a gentle heat when melting the chocolate, ensuring thorough stirring, checking the expiration dates of ingredients, always lining the baking dish, and being patient with the setting process.

